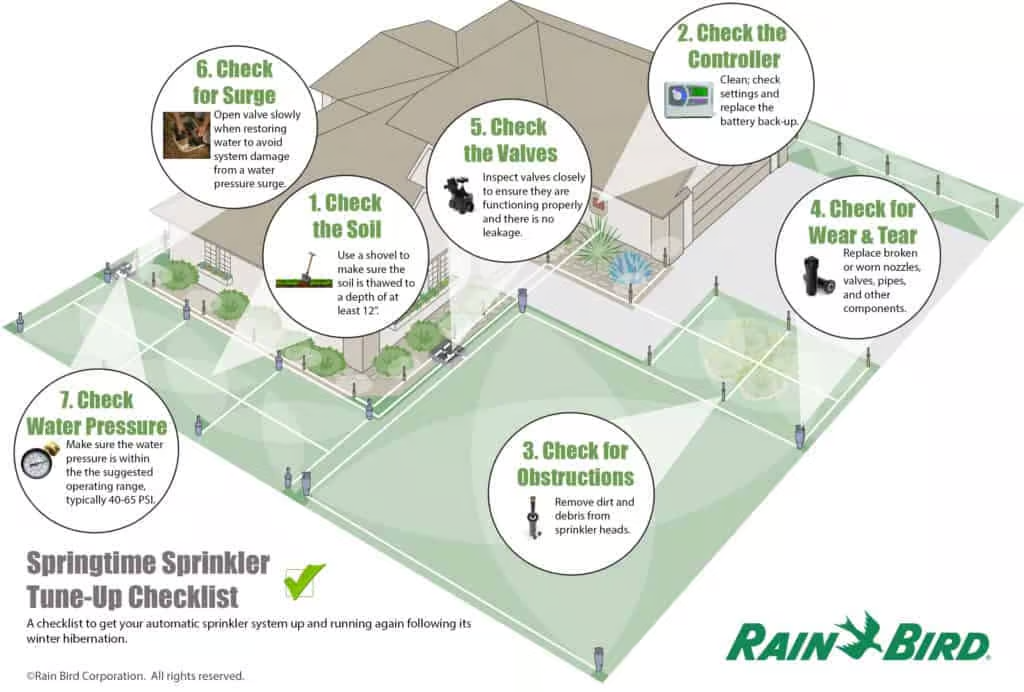
To start the spring season right, it’s important to start your irrigation system right too. Here is a simple procedure for getting up-and-running:
Shut the handles off at the backflow (crossways/perpendicular with the pipe).
Put in the plug (should be duct taped to the copper) or turn the faucet off where the copper comes out of the house for the backflow.
With a screwdriver close the bleeder valves located on the backflow.
Turn the water on in the basement.
Slowly open handles on the backflow (this process should take about 1 min.)
Water will come out the top of the backflow for the first 30-45 seconds, which is normal.
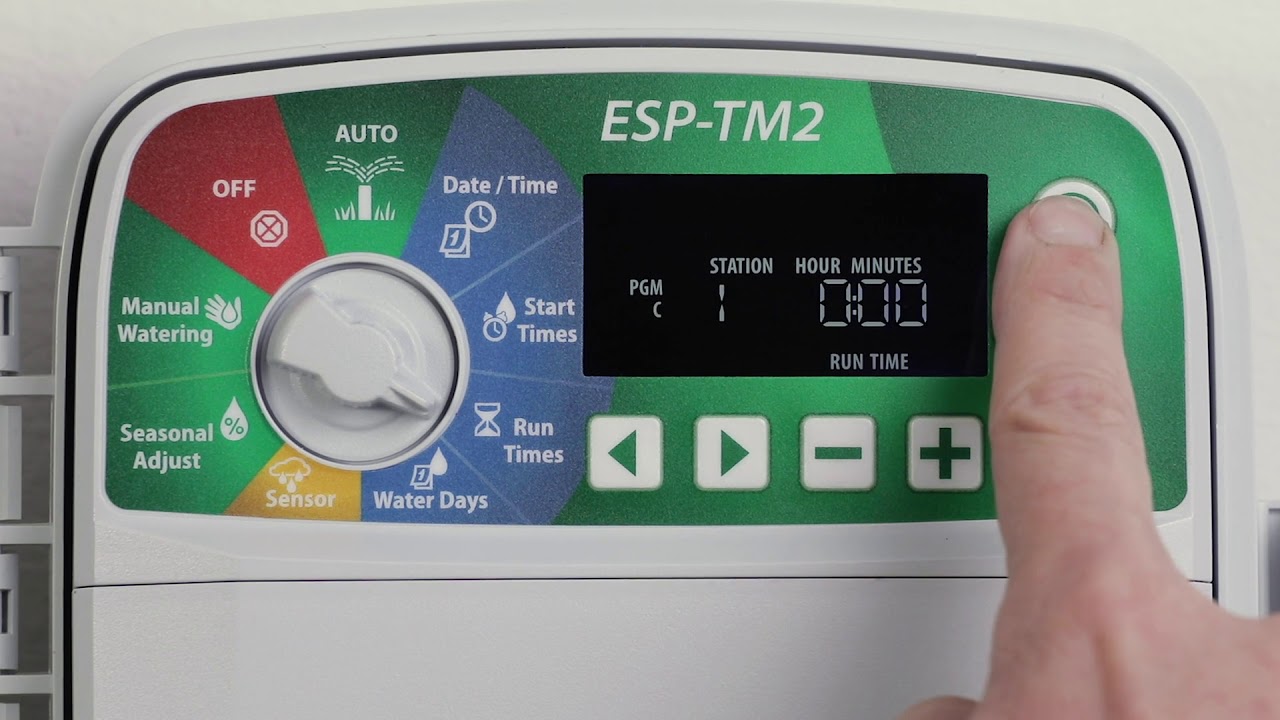
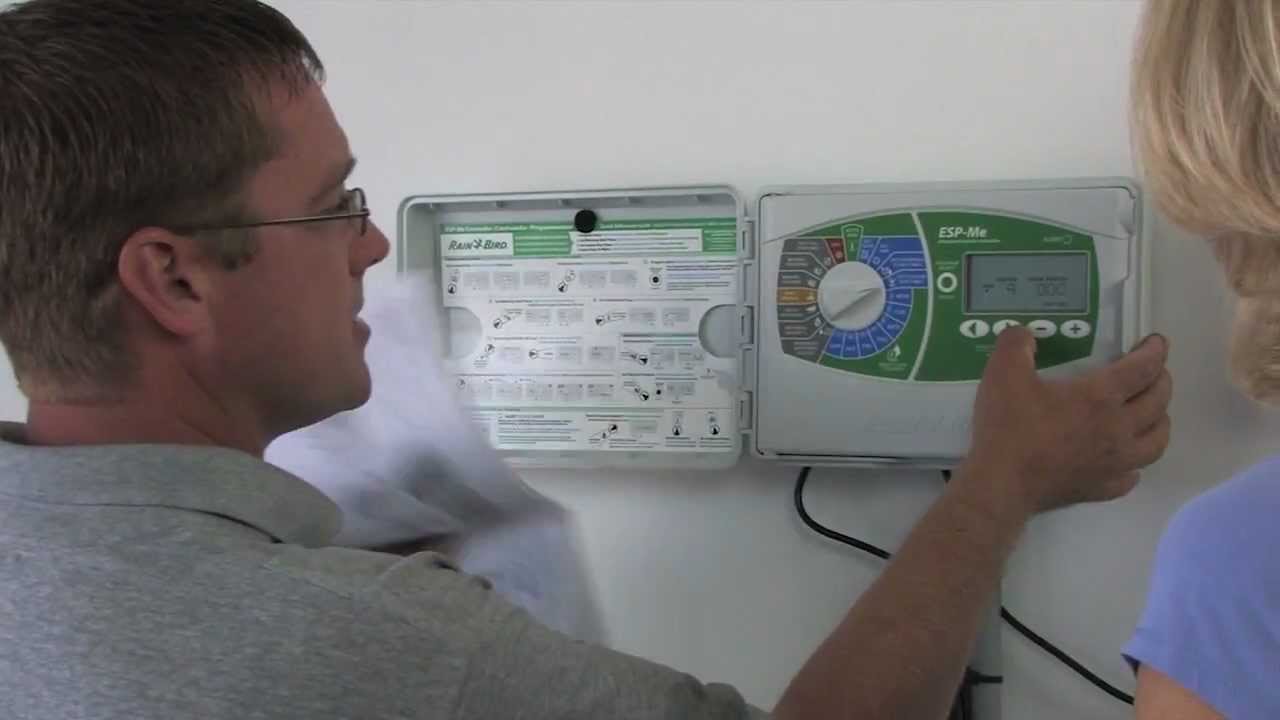
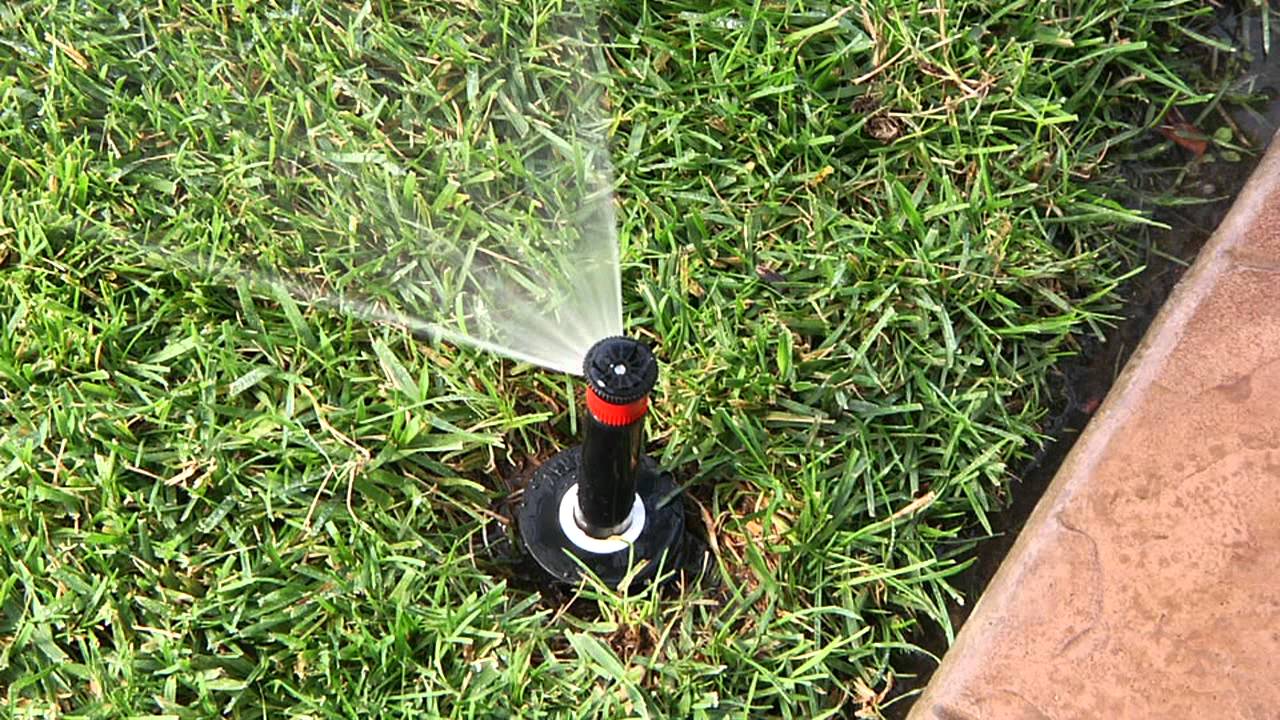
Make sure the controller is plugged in. Manually run through all zones to check heads and ensure that valves are functioning properly.
If you still need assistance, our technicians are here to help. Please contact us to schedule a service call.
Troubleshooting:
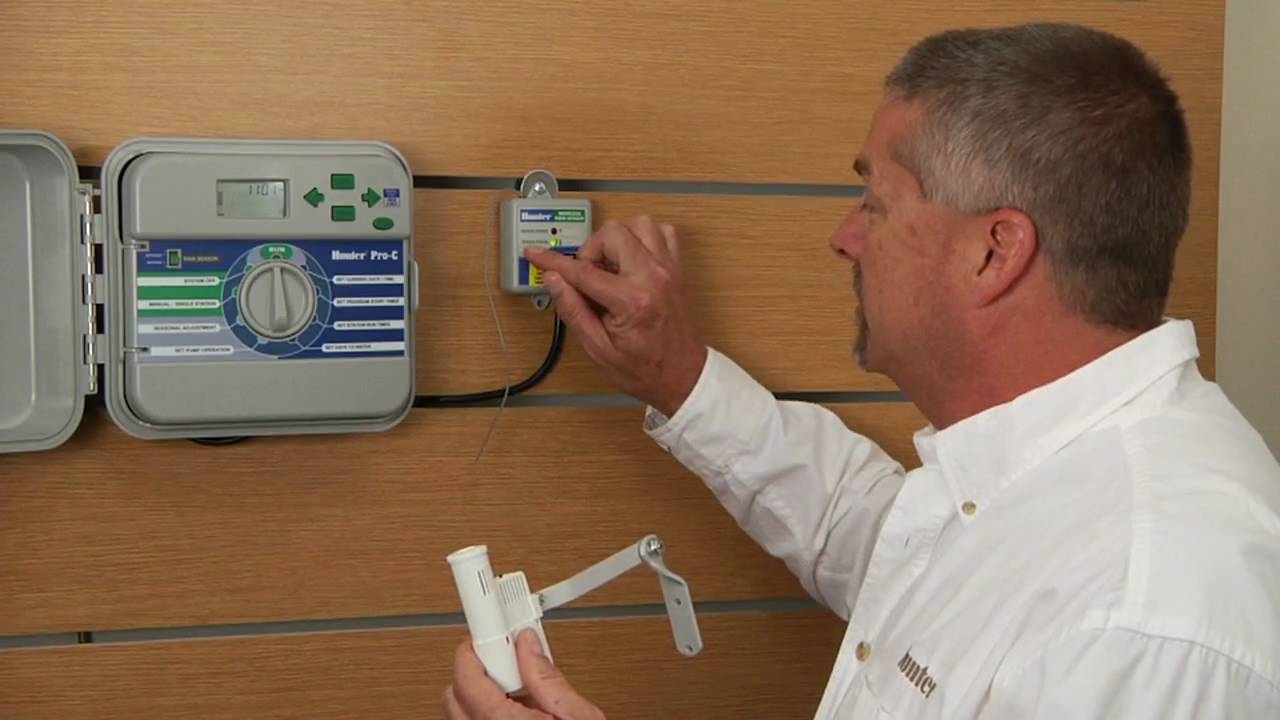
* If the system doesn’t turn on… check the rain sensor (override it).
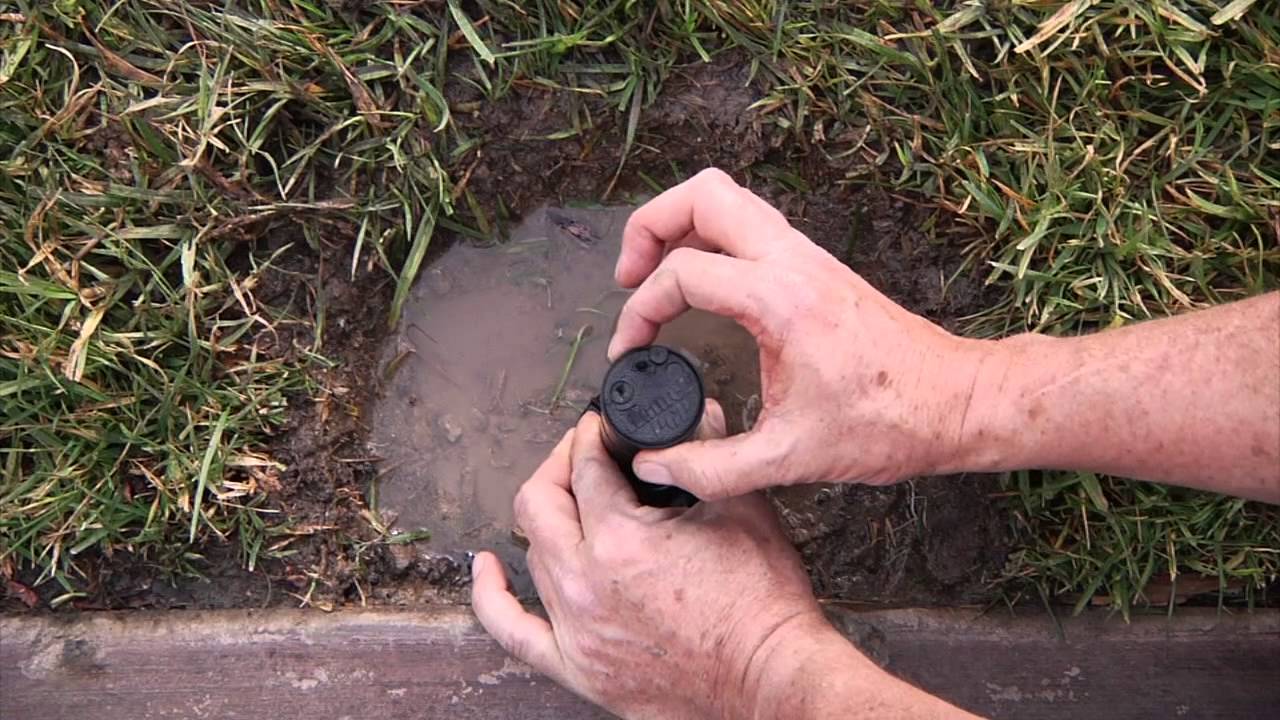
* If a head doesn’t pop up… try tapping on it with a hammer or your foot to loosen up any dirt.
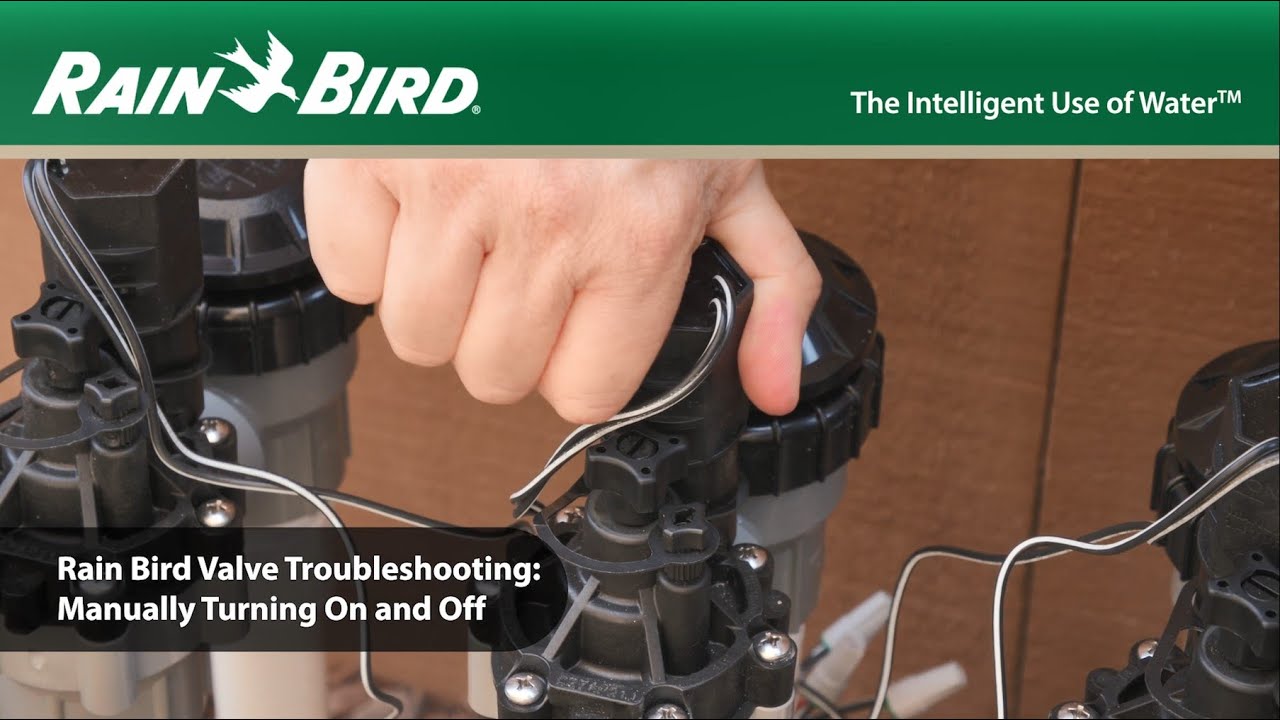
* If a zone sticks on… make sure the solenoid/bleeder on the valve (located in the green valve box) is closed up tightly.
How to Protect Your Backflow During a Freeze
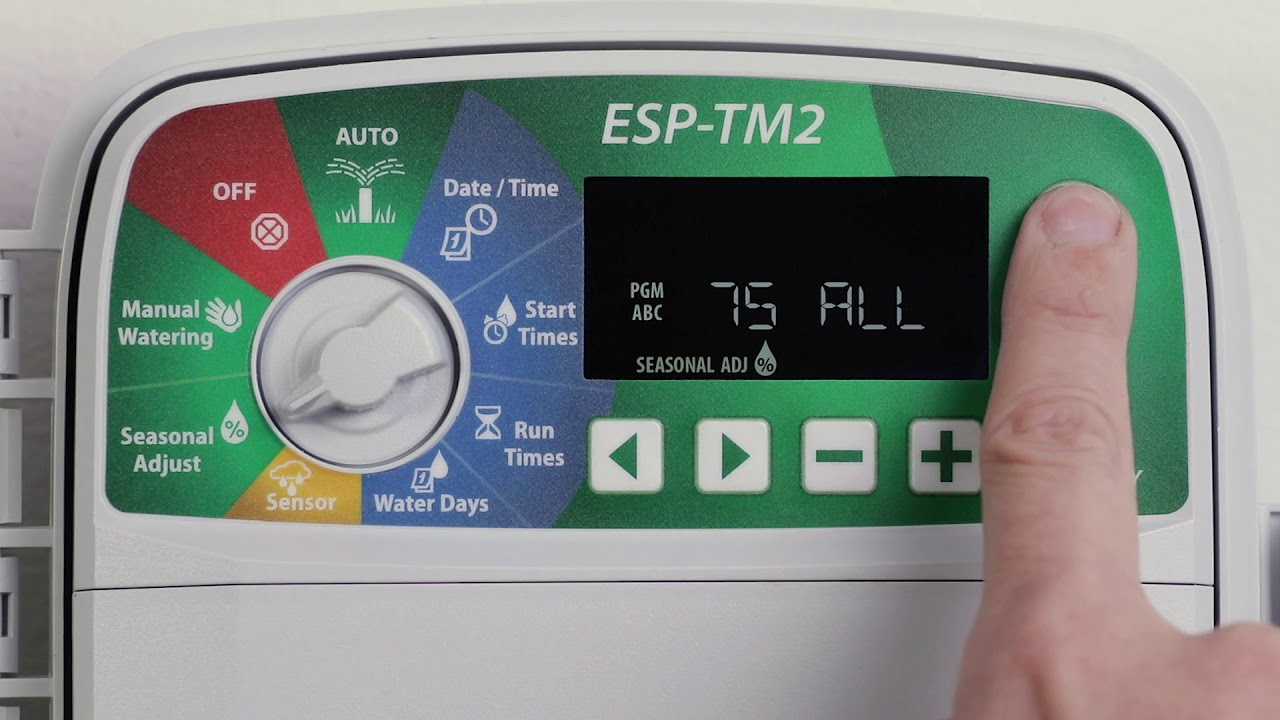
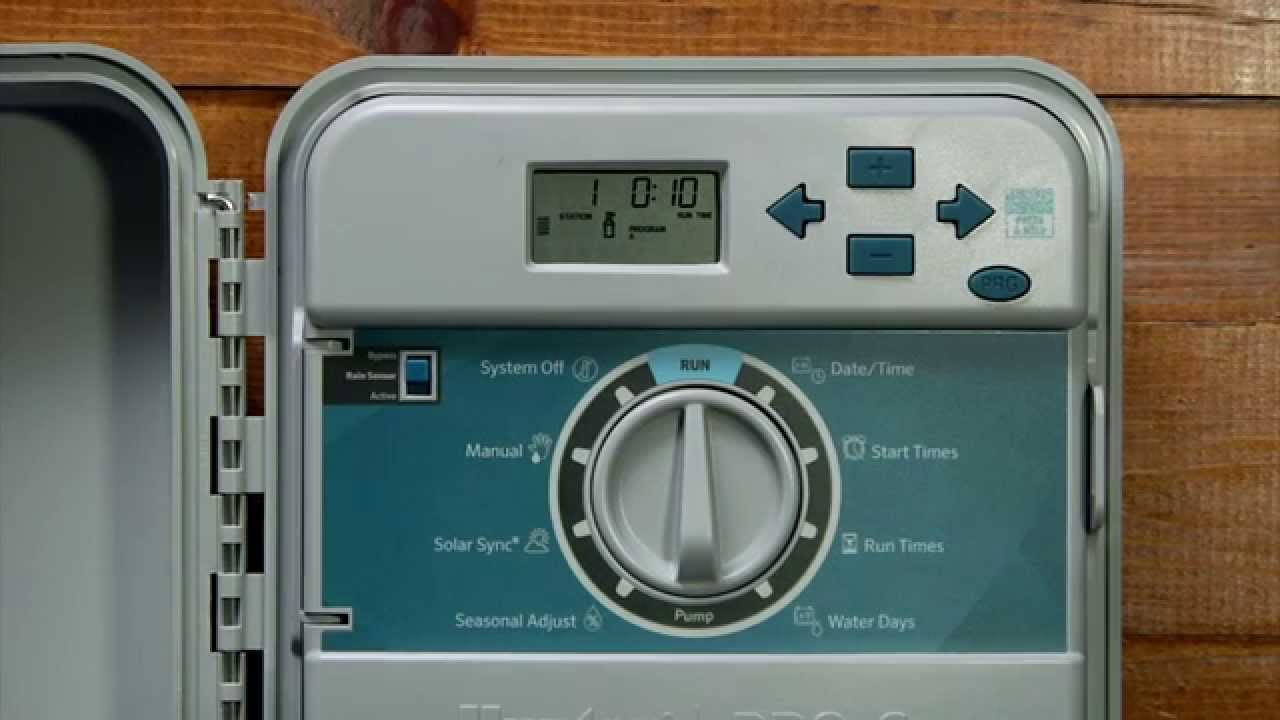
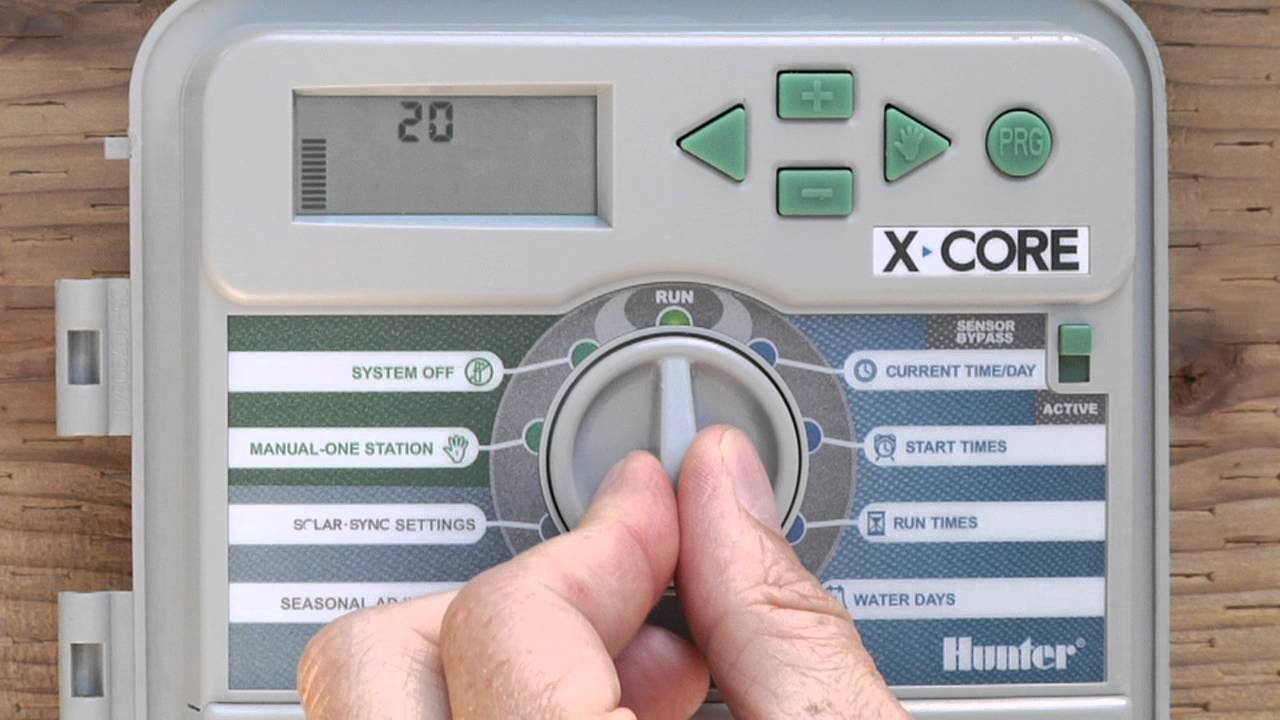
Turn your irrigation system’s control clock to the OFF position- Your Irrigation system’s control clock; usually located inside of your garage.
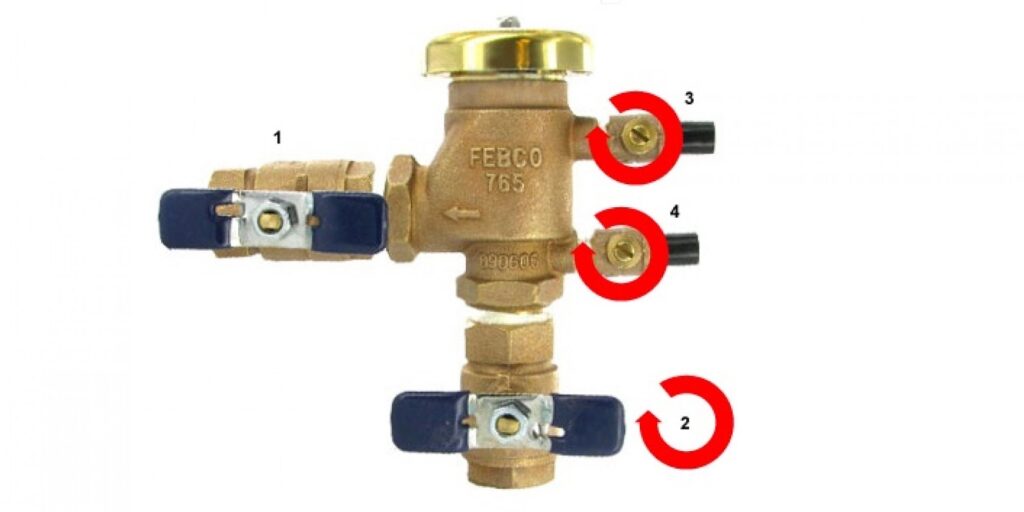
Turn off the shut-off valve – Locate your above ground backflow device at your home. On most residential backflow devices, there are two shut-off valves. These are typically covered in blue rubber and are located before and after the actual backflow device. You need to shut the one off before the device (#2 on the picture above) to keep more water from entering it. This is the lower of the two shut off valves. Turning it a half turn will turn the water flow to the backflow device off.
Release the water pressure – Now that you have shut off the water valve, you must release the water that is in the device so that it doesn’t expand when it freezes and cracks the device. The way to do this is with a flat head screwdriver, loosen the two bleeder valves (#3 and #4 above) that are usually located just under the plastic top of the backflow. Sometimes, they may even have rubber inserts you have to remove before you can see the flathead screw. When opening these, be aware that the water will spew out for a few seconds and your hands will get wet.
*NOTE: If the water doesn’t stop spitting out after a couple minutes, you haven’t fully turned off the water in step 1.
Leave the smaller bleeder valves open – This will allow the water to expand and freeze without being hindered and causing damage.
Insulate your Backflow – At almost all home improvement stores, they carry pipe insulation. All you need is that and duct tape and you can wrap the pipe. Or take an old towel, blanket, or pillow and wrap it around the exposed pipe. You will want to tie or tape those in place to keep it wrapped snugly around the pipe.